Creating a Bootablr USB for Linux using Etcher.
Create a bootable USB drive using Etcher*
Use Etcher* software from Balena* to flash the Clear Linux OS image to a USB drive. An Advanced: Linux CLI option is also available.
Prerequisites
Download the Clear Linux OS Desktop or Server image from the Downloads page
Recommended minimum 4GB USB drive or larger
Download and install the Etcher version per your operating system.
Burn the Clear Linux OS image onto a USB drive
Caution
Burning an image formats the USB drive and destroys all pre-existing content. Back up your data before proceeding.
Launch Etcher.
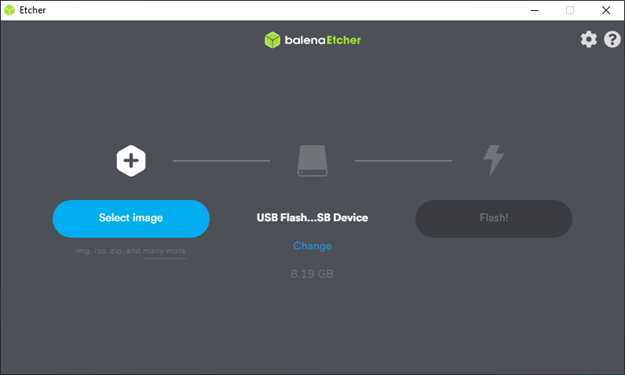
Figure 1: Start screen
Press Select Image.
Change directory to where the image resides.
Select the image and click Open.
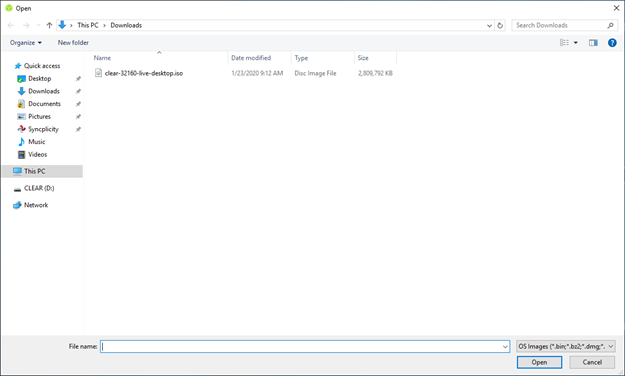
Figure 2: In Open, select the image
Plug in the USB drive.
Identify the USB drive or click Change to select a different USB.
Note
This shows all USB drives attached to the system.
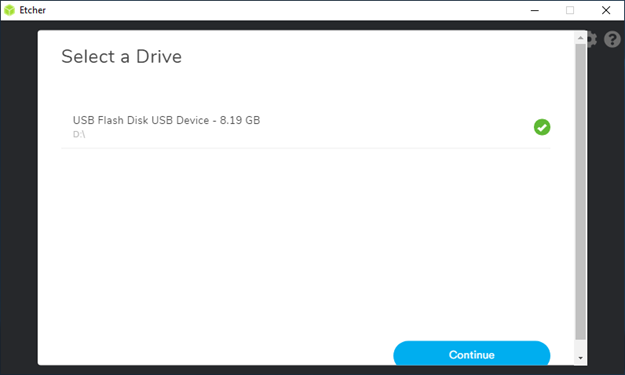
Figure 3: USB drives attached
Select the proper device and press Continue.
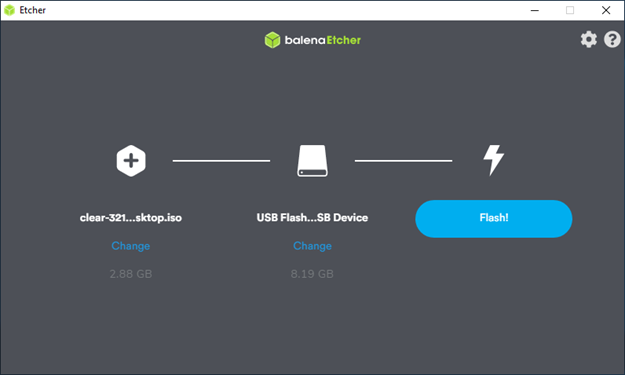
Figure 4: USB Flash Device selected
When ready press the Flash! Button. The dialog shows Flashing while in progress.
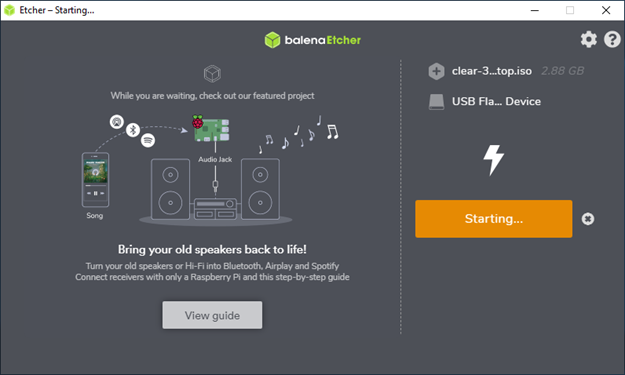
Figure 5: Starting to flash

Figure 6: Flashing, percentage complete
Flash complete! shows when the process is finished.

Figure 7: Flash Complete!
Note
The process may take more than a few minutes. When the process completes, close BalenaEtcher.
Advanced: Linux CLI
Open a Terminal window.
Change directory to where the image resides.
Plug in the USB drive.
Identify all drives attached to the system. In the example output below, there are 3 drives (/dev/sda, /dev/sdb, and /dev/sdc) attached, where /dev/sda is the primary drive and the remaining are USB drives.
lsblk -po NAME,SIZE,VENDOR,MODEL,TRAN,TYPE,PARTLABEL,MOUNTPOINT
Example output:
NAME          SIZE VENDOR   MODEL                    TRAN   TYPE PARTLABEL                    MOUNTPOINT
/dev/sda    119.2G ATA      SAMSUNG_MZ7PC128HAFU-000 sata   disk
├─/dev/sda1   450M                                          part Basic data partition
├─/dev/sda2   100M                                          part EFI system partition
├─/dev/sda3    16M                                          part Microsoft reserved partition
├─/dev/sda4  97.2G                                          part Basic data partition
├─/dev/sda5   142M                                          part EFI
├─/dev/sda6   245M                                          part linux-swap                   [SWAP]
└─/dev/sda7  21.1G                                          part /                            /
/dev/sdb      7.5G General  UDisk                    usb    disk
└─/dev/sdb1   7.5G                                          part Microsoft Basic Data         /run/media/clear/CENA_X64FRE
/dev/sdc       15G          Patriot_Memory           usb    disk
└─/dev/sdc1    15G                                          part                              /run/media/clear/U
Note
Some Linux distros may automatically mount a USB drive when it is plugged in.
Unmount the USB drive you want to use before burning an image onto it. Use the umount command followed by the device identifier/partition. For example, to unmount all
/dev/sdcpartitions:sudo umount /dev/sdc*
Burn the image onto the USB drive. This example burns an image onto
/dev/sdc. The device name of the USB may vary.sudo dd if=./clear-[version number]-live-[desktop | server].iso of=/dev/sdc oflag=sync bs=4M status=progress
Eject the Clear Linux OS image USB drive
Caution
If you do not properly unmount the USB drive before removing it, it may cause file system checksum errors in it. If this happens, burn the image again, ensuring all the USB drive partitions are unmounted first before removing drive.
Unmount the USB per your OS instructions.
Then eject the USB.


Comments
Post a Comment